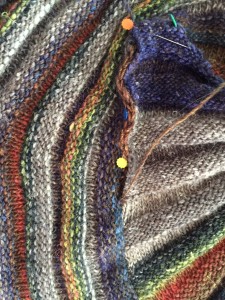
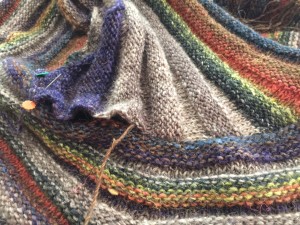
The Swirl only has one seam, but it is a doozy. I found finishing this sweater to be a fun challenge, and thought that I would share how I decided to do the seaming and finishing work. Double-click on any photo to enlarge for details.
My yarn, Noro Silk Garden Lite, is lovely, although not particularly strong. Seaming is hard on fragile yarns, as they tend to shred and break when pulled repeatedly through stitches, under tension. Strictly speaking, any thread will do for seaming, as it will not be visible. But I like to use original yarn for seams, if only to provide yarn for my future self to do repair work needed as sweaters age, needing reinforcement. My favorite trick is to carry a piece of strong thread along with the yarn, providing strength and stability without bulk.
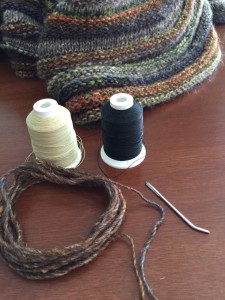
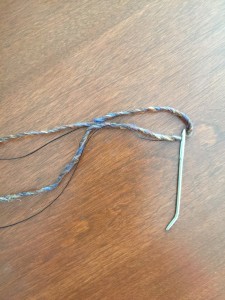
I have 2 spools of buttonhole thread in my sewing kit: one beige and one black. Remember, no one will see the thread, so the color doesn’t need to match! I pick the lighter or darker one, depending on which feels best for the project. For the Swirl, I picked the black one. I use a blunt yarn needle for seaming, and prefer the kind with a bent tip. This allows me to dig in to find a stitch if I can’t see it easily. The blunt tip slides around the yarn, so that it will slide out easily if I don’t like how a seam is progressing. I have a long length of yarn, over twice the length of the seam. I cut the buttonhole thread the same length as the yarn, and thread them together on the yarn needle.
The Swirl seam goes across the width of the back, then down and around the shoulders to create an armhole. When doing a seam, you want to think about where it should start and where it should end. The starting point is easy to control, but at the end, sometimes the fabric gets a bit bunchy despite your best efforts. If at all possible, you want any bunchy bits to be hidden under the arms, not along any edges. Another factor to consider is the length of yarn needed vs. the length of yarn you are comfortable working with. Long pieces of yarn get tangled and in the way, and the Noro is going to break if it gets tugged too often.
Both of these issues can be solved by folding the long length of yarn in half, and starting the seam in the middle of the back, from the half-way point of the yarn. Sew from the back to the end of the armhole. Leave that end to bury when you know you are done. Then return to mid-back, and sew the other side with the other half of the yarn.
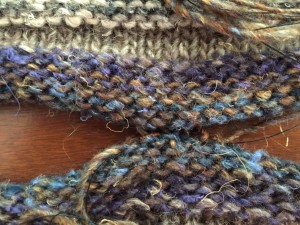
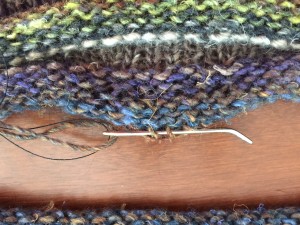
Your mattress stitch seam is done from the public side, but should be invisible. Even here, before pulling the seam snug, you can barely see the stitches.
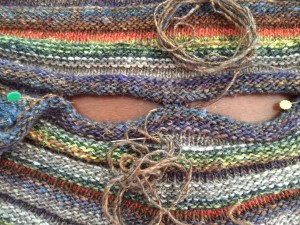
Start seaming in the center of your yarn supply, and work from the center out. When done with one side, come back and work from the center to the other side with the second half of your yarn.
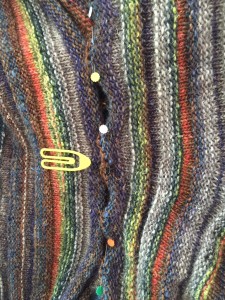
Start seaming, and ease the fabric as needed so that the sides will match as you approach the pins placed earlier. Sometimes it looks like one side is a lot bigger than the other side, when really the stitches are just bigger on one side for some reason. As you match stitch to stitch, it all smooths out like magic. You should always try to match stitches to see if it works out, before going by what you THINK is going to happen. Train wrecks with seaming are most often due to our not trusting the knitting, and trying to outsmart ourselves.
Mistakes happen, though. I was rolling along, not paying attention, and discovered that I was running out of fabric on one side before the other. No worries! Just pull out the seaming yarn from a few inches of fabric, and start over.
Next up : Sewing the shoulders and creating the armhole.

