Having established the seam for the back collar, working from the center back, you will approach the curve of the shoulder.
Seaming the collar to the back is fairly straight-forward, as you match stitches on each side. As you approach the shoulder, where you will be seaming stitches from the collar to rows from the sleeve, you may need to ease the fabric a bit, changing your ratio of ladders per seam stitch to manipulate the fit. Take your time, and be willing to undo stitches and try again, for the best result. On the inside, you will see a (small) seam, but on the Right side, there will be no visible seam and the fabric should look very good. No stretching, no pulling, and the welts should lie against each other in an attractive manner. When worn, where the fabric joins won’t be noticeable, but don’t let that deter you from doing a careful job that you will be proud of.
As you sew, look only at the fabric you are working with and don’t be distracted by the rest of the garment (there is a lot of it). Fold the pieces you aren’t working with out of the way – they will have their turn later! If your yarn breaks, it’s OK. Cut off the yarn and thread together, leaving 5 inches to bury later, in the seam. Prepare a new length of yarn and thread, and start where you left off, again leaving a 5 in. end. You don’t want to bury ends or tie knots at this point, because you need to be free to pull out your work at any time you aren’t satisfied. After you are happy with the seam, you can bury the ends invisibly in the seam.
The key to happy finishing work is to make sure that your working conditions are pleasurable. Have the right tools, don’t be in a hurry, and enjoy the process of seeing your project come together in a way that you will be proud of for the life of the garment. If you start to feel anxious, or find yourself rushing to “get it over with”, STOP! Carefully put everything away in a place safe from kids and cats, and return to it later. You put hours and hours into knitting it, allow yourself plenty of time to sew it together!
Double-click on any photo, to enlarge to see details!
Next stop: the Sleeves.
Control how the fabric is distributed by putting more or less ladders into stitches. If you put 2 ladders in every stitch, you will tighten the fabric over a smaller area. 1 ladder/stitch will stretch out the fabric. Alternate 1 ladder and 2 ladders consistently, and you will be in the middle. Try a pattern, and be prepared to change your mind and start over if you aren’t happy with the result. Hand-knit stitches tend to come in different sizes, and you need to be able to adjust.

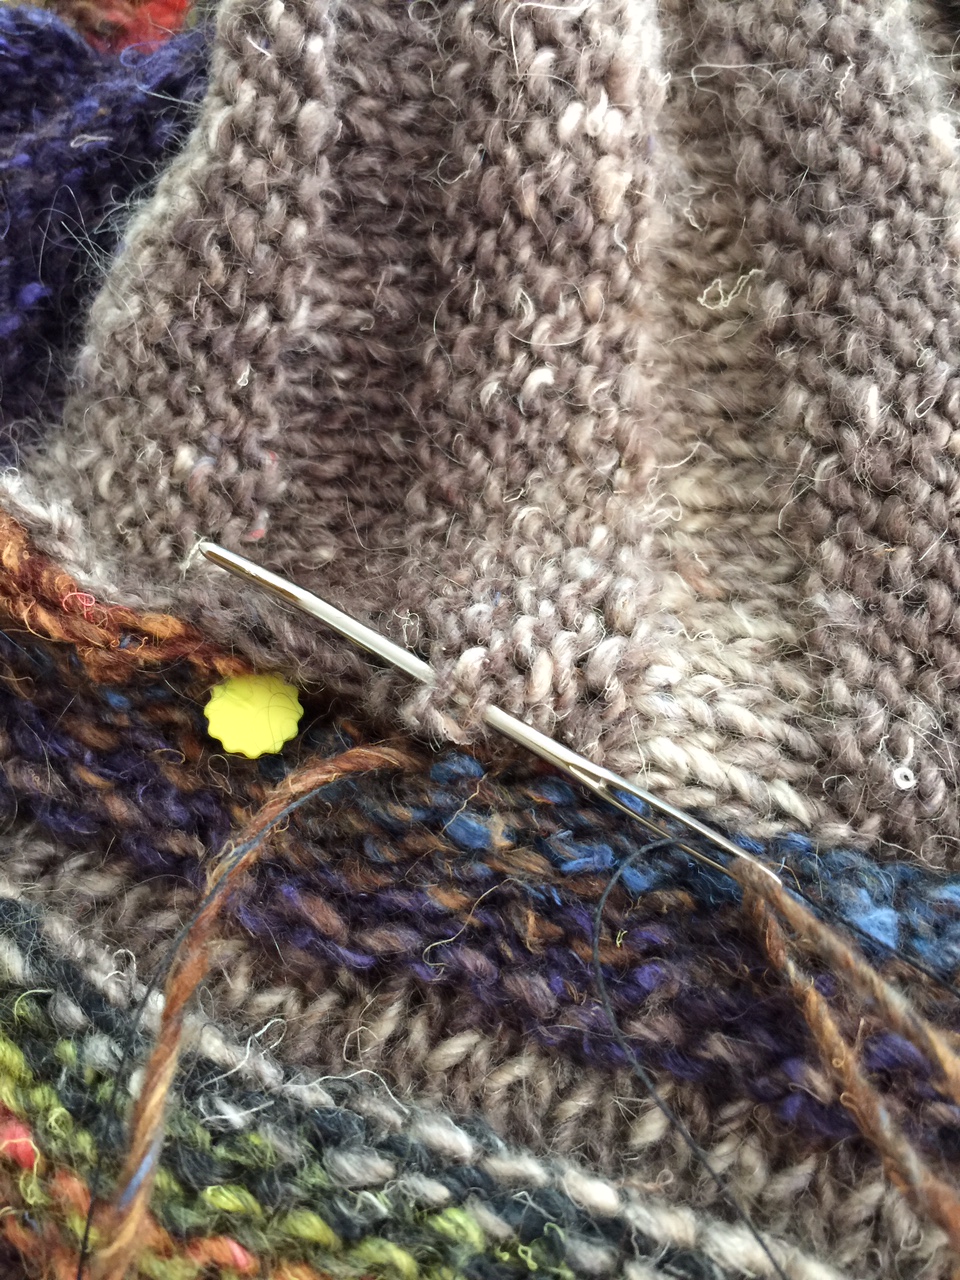
Seaming the back to the collar, and approaching the shoulder. Ease the fabric into the seam as needed.

Finished shoulder/back seam. The sleeves are piled in the center so that you can see the seam. When worn, the sleeves and collar will cover it almost completely!

Shoulder seam from the inside. This is at the bottom of the armhole, the trickiest bit of seaming because of the sharp curves.

Shoulder seam from the right side
&media=https://annetarsia.com/wp-content/uploads/2015/06/IMG_21861.jpg)