Preparing for my only teaching trip to the East Coast this year, I developed a new class for teaching everything Annetarsia in a single day. I knit 3 fun projects for “Annetarsia: Be the Boss of your Intarsia”, and I knit them all twice, using different yarns. I wasn’t ready to move on, so I decided to design a sweater using the exact techniques from class. There are still spots available in both classes, so contact Lion Brand Studio or Knitting Boutique to sign up. Anyone taking this class will be ready to knit the Sassy sweater!

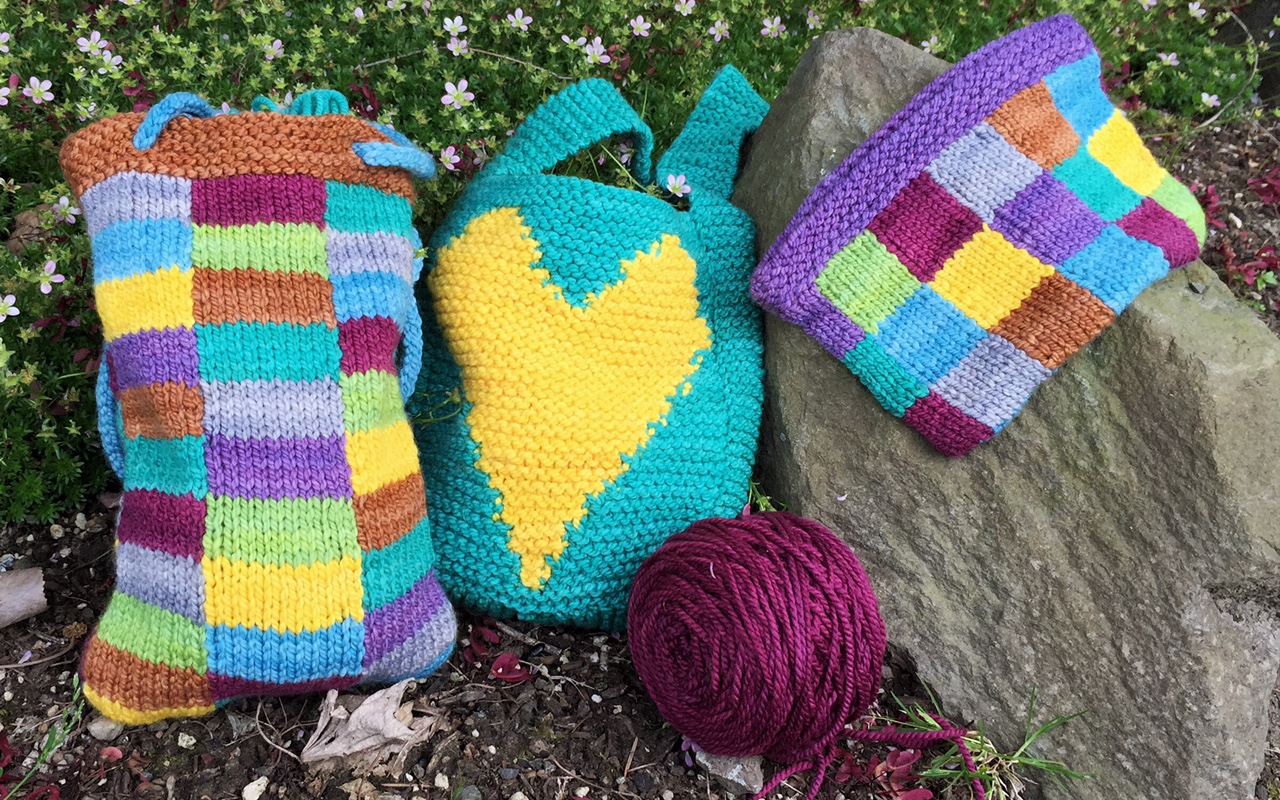
“Be the Boss of your Intarsia” samples. L to R: Flat stockinette, garter stitch, ITR (zipper closure)
I am teaching “Be the Boss” August 7th at Lion Brand Studio (NYC) and August 8th and 9th at the Knitting Boutique (Glen Burnie, MD). The Knitting Boutique has their own lines of yarn, so after much deliberation (they have many excellent yarns to choose from) I ordered almost every color of Sassafrass worsted that they had, and planned a sweater based on one of the class charts. Deciding where to place all of the colors was the hard part – that took days. But, knitting the pieces went quickly.
I started with provisional cast-on edges, as I wasn’t sure what I wanted the edging to look like. This meant that after knitting all of the pieces, I needed to assemble them enough to get an idea of what the sweater was going to look like, what edging would be best, and actually knit it onto the garment.
The unblocked pieces curled like crazy, being purely stockinette. Even when pinned together and placed on the mannequin, it didn’t look good.
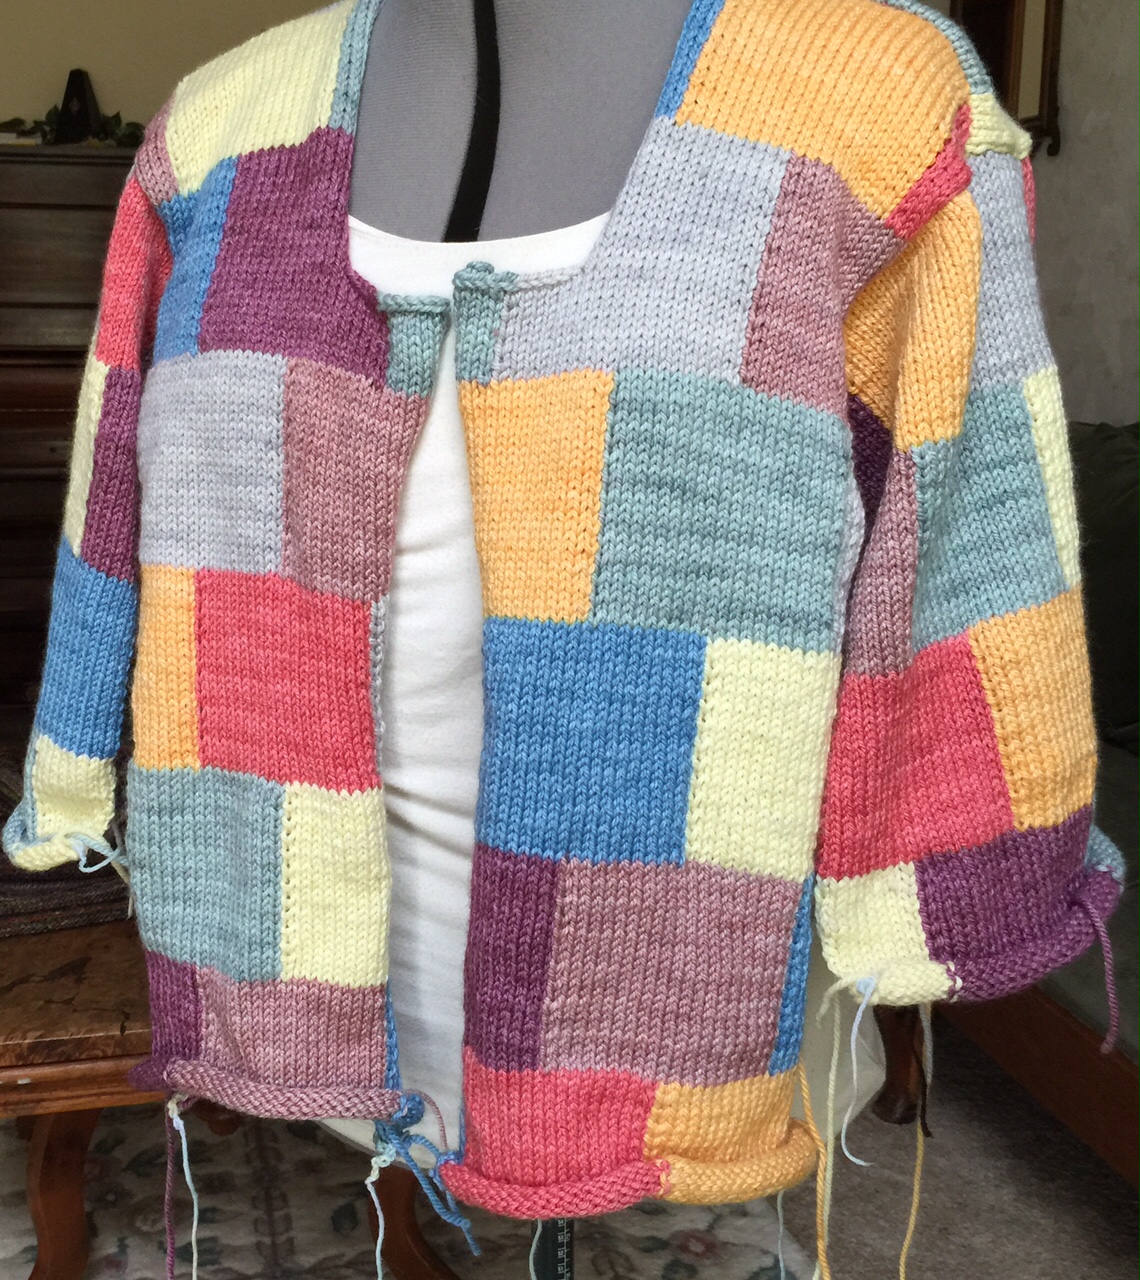
Before blocking, the poor sweater doesn’t have any shape. It looks better on the mannequin than it did on me, but not by much!

The back, pre-blocking. Edges curling up make seaming and visualizing any border treatments difficult.
I wanted to block the pieces flat, so seamed the shoulders, and the sleeves into the armhole. Then blocked the entire garment.

After blocking, the sweater size and shape can be seen much better!
The blocked garment draped nicely over the mannequin. Now that I could see the edges, I decided that a garter stitch border would give it nice weight and structure. I could do 2 rows with each color, creating stripes that would tie all of the colors together.
I knit the edging on the sleeves first, to make sure that I liked it. Then I seamed the sleeves and sides of the sweater. When the sides were seamed, I picked up the stitches around the hem to knit the garter stitch border.
It is starting to look like a sweater, now, but I still need to knit the neckline and front edgings. To be continued…

Here is the sweater with the sleeve and side seams done, and garter stitch borders knit onto the sleeves and bottom of the sweater. The center and neckline edging still needs to be knit, but it is starting to look like a real garment.

Here is the back, with sleeves and bottom edging.

Seaming the shoulders, and sewing the sleeves to the body allow blocking the entire sweater in one piece.