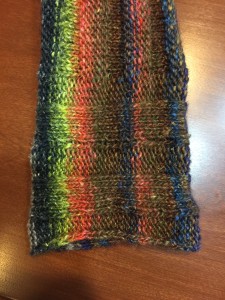
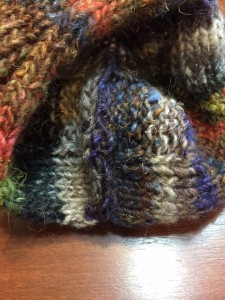
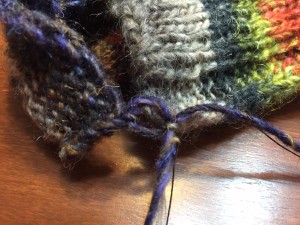
The Swirl technically has one seam. After finishing the shoulder you may proceed to seam the sleeve from shoulder to cuff, but I recommend a different path. Because the end of a seam is often where fabric seems to bunch up inappropriately, end a seam where smoothing the fabric is easiest, generally under the arm. The Swirl cuff is unusual in that it will get pleated at the very end – so bumps and bulk might be acceptable. But, I prefer starting with the smooth, perfect cuff which results from using a fresh piece of yarn at the cuff end. Tension is best controlled with a free piece of yarn, leaving a 5 in. end to bury into the finished seam, along with the cast on end.
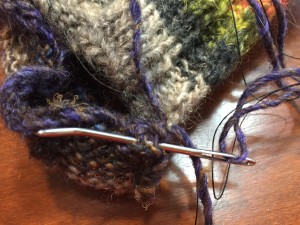
With your yarn and thread combined in your yarn needle, pull through loops at the base of each side, at the very edge, then return to the first side to make a circle (see photo). This first step will even up your edge and prevent the dreaded notch at the base of a seam. Then do your mattress stitch up the sides of the sleeve.
The Swirl sleeves are made slightly more difficult to seam by being knit side-to-side, and having mildly uneven shaping on each side. You need to read the knitting carefully, matching stitches on each side, and staying one full stitch from the edge. Having the sleeve pinned together can be a valuable guide. For the most part, the welts will line up and also act as a guide.
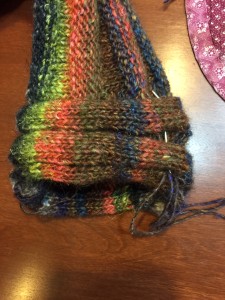
Yarn is sewn up and down the ribbing, all around the sleeve, to create a pleated cuff. It creates a very interesting detail.
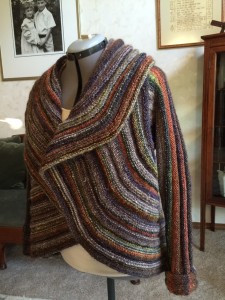
Sweater shown with one sleeve seamed. Notice how the sleeve covers virtually all of the seam. But I know that it looks good, under there!
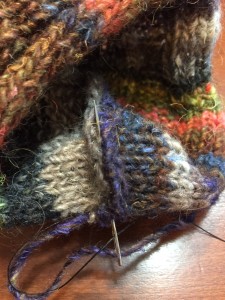
Burying the end in the seam, using a sharp Chenille needle. This technique is useful for more than Annetarsia!
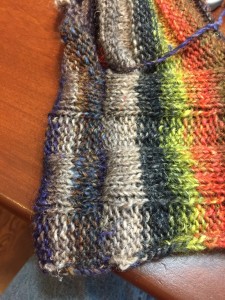
The seam of the cuff, which is barely visible now, and won’t be noticeable at all after pleating the cuff.
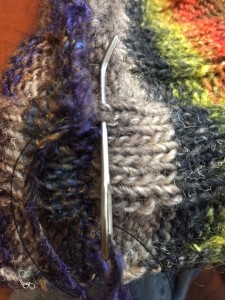
Seam the cuff from the Right Side. Match stitch for stitch on each side of the seam. This is easier with knit sts than with purl stitches. Take your time, there is no need to rush.
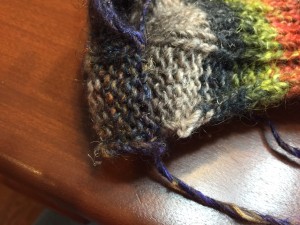
Seaming the cuff is harder over the reverse stockinette section. Just be careful to match stitch for stitch, you will get it!

